I noticed that lately there are a lot of signature requests, and there's even a thread dedicated to it now. I don't want to say, that requesting is a bad thing, but I still think that a sig is better if you make it yourself, and I believe that most people don't even try to make their owns or try but fail, because they never used Photoshop before. So therefore I tried to make a tutorial with the basic steps of making a sig. It's not the ultimate way of how to do a sig, it's just how I do it. Hope it helps some people :)
Step 1. - Finding a picture
So first of all you need to find a picture you want to use for your sig. I mostly use high resolution pictures, 'cos they aren't blurry, so it's easy to work with them. An other important thing is to look for a pic with possibily solid background, 'cos it's easier to make a render from... but about that later. Anyway, the pic should be bigger then the sig.
Here are some sites, where you can find good pictures:
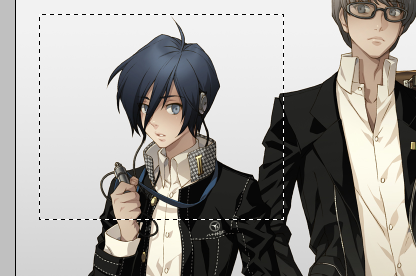
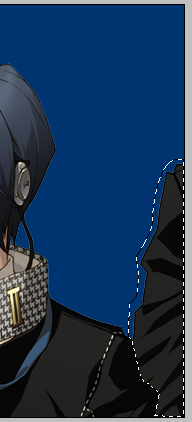
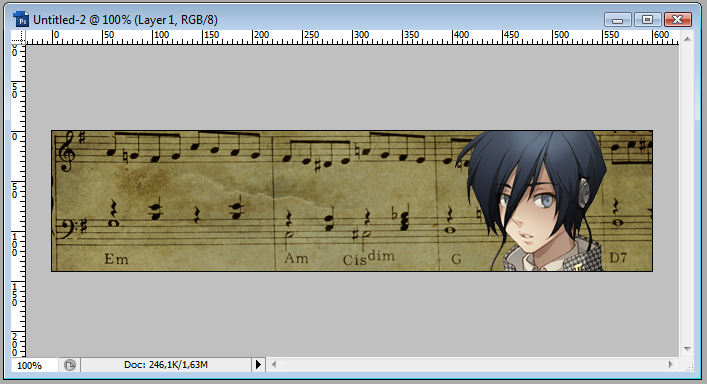
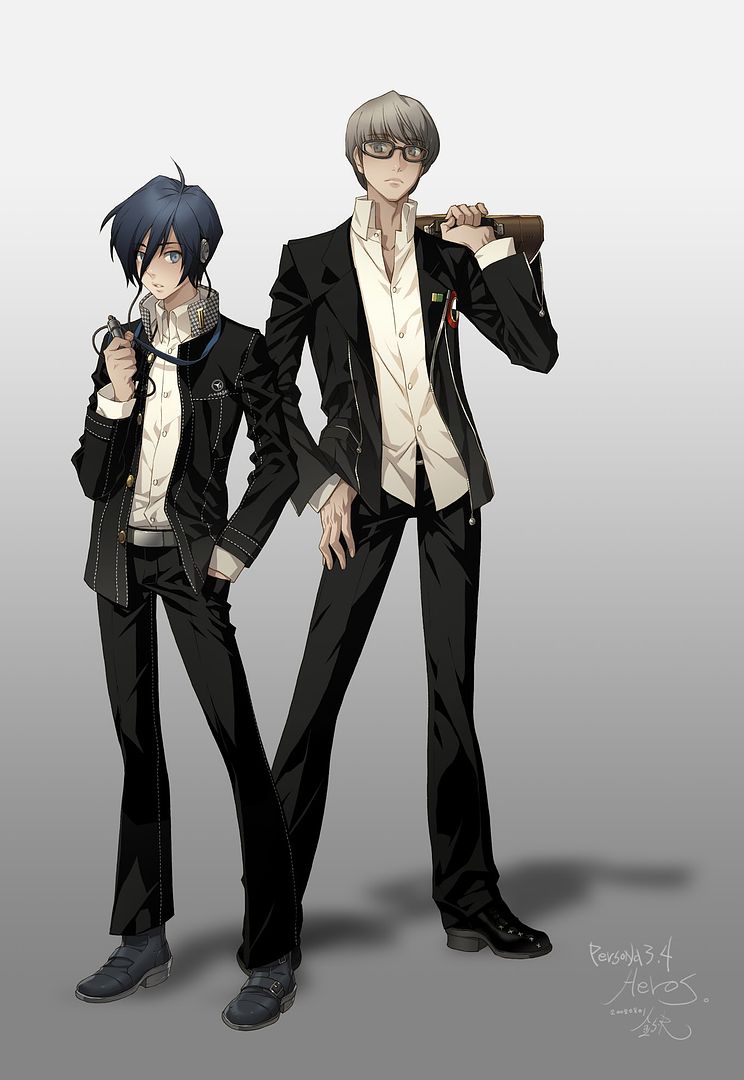
So I decided to use this picture for a sig that I make for a friend.
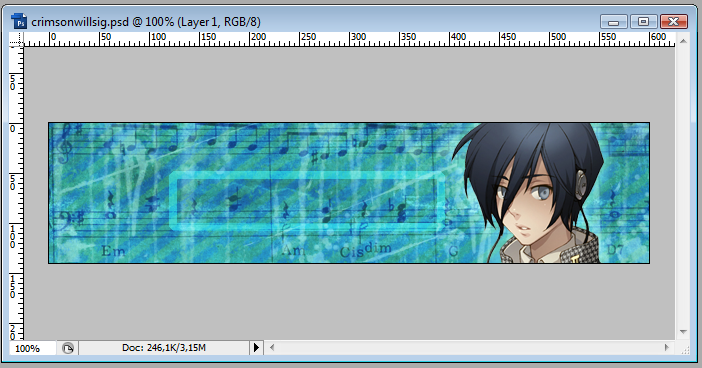
But I only want to use the guy on the left, so in Photoshop I make a selection with the rectangular marque tool
and select the part of him I want to use for the sig. naturally it will be his face mostly.
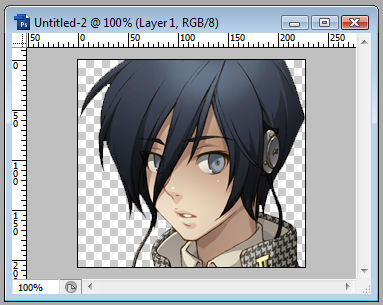
I copy the selected part with Ctrl+C. Then I open a new document
And paste the pic in it. (You can close the original picture.)
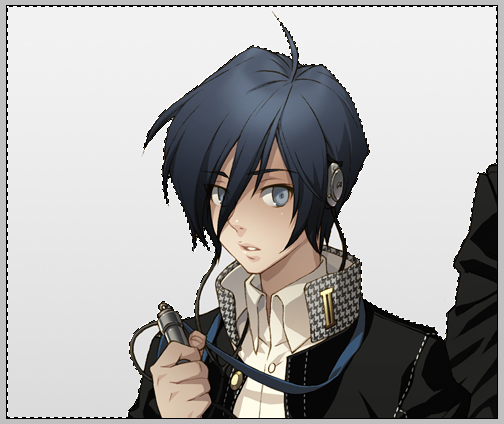
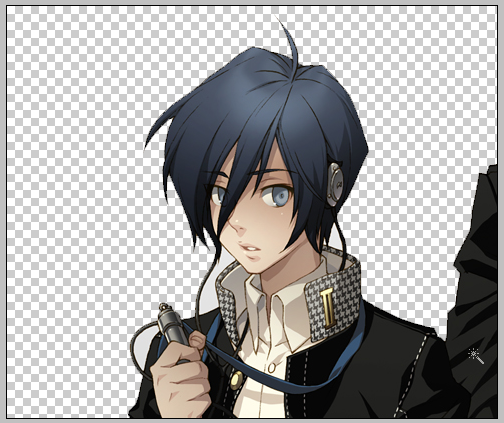
Now I want to separate the guy from the background, so I can make a nice custom background myself. First I will use the Magic Wand Tool
I can use it, because the background is mostly gray. So I click on the gray part to select it
And then cut it out with Ctrl+X
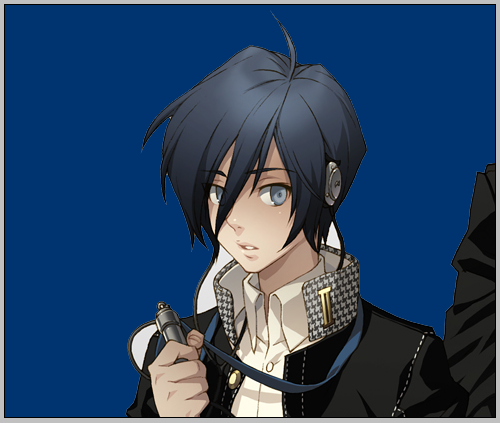
But as you can see, not all grey parts were cut out. They are some areas which have the background color, but you might not notice it first. So it good to make a new layer
move the layer under the layer with the character, and fill it with some dark color. Now we can see clearly where we have to cut parts out.
Oh and btw, you can select more then one area with the magic wand, if you hold down the Shift key.
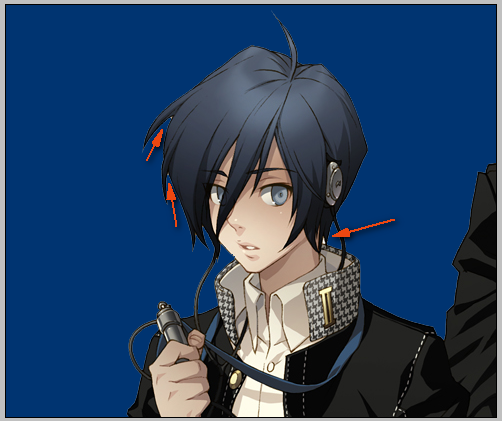
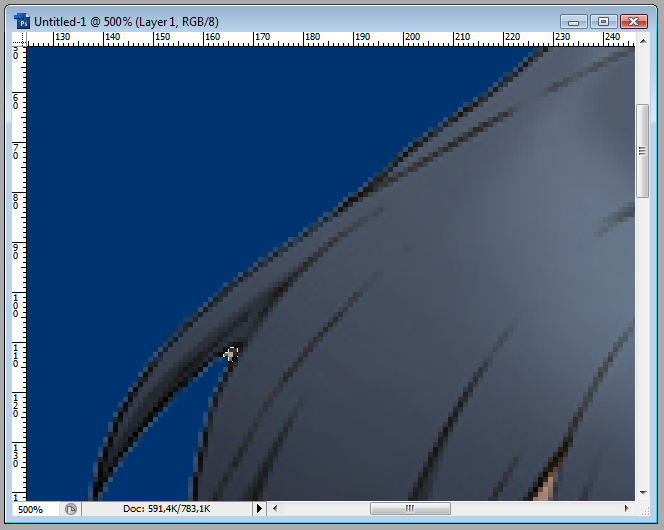
So I did cut out the rest, but there are still tiny bits of grey which we must get rid of, to make our render look cool.
We can cut these out while zooming in
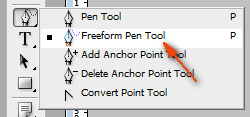
Now we are almost ready with the render, we only have to get rid of the other guy's arm. (Actually we could use the pic already as it is, but if we do that I won't be able to show how to make render in a different way :P) Zooming in again, and this time we will use the Freeform Pen Tool
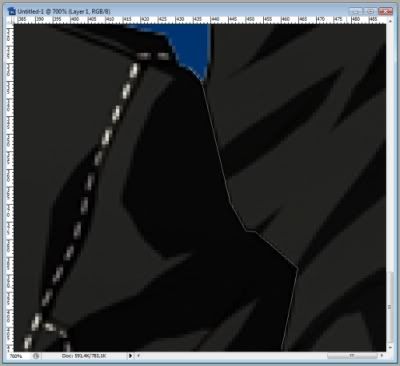
With the Freeform Pen Tool we carefully trace along the arm of our character, to get something like this:
After that you go around the other guy's arm too, inculding the edges of the picutre.
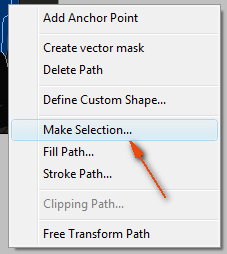
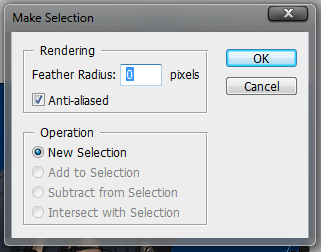
Now make a right click, and choose "Make Selection"
Cut out selection, and we have a completely clean render now.
If you think your render is not perfectly clean, you can trace along the edges with the eraser tool, I do that most of the time.
I have to say that making a render is most of the time not as easy as this one was. You have to practice with the pen tool quite a lot till you get the hang of it, but I think it's worth the time.
Step 3. - Making background
First I have to make sure which part of the render I want to use. Since the sig's height can be max 140 pixel, I select the face, neck and part of the hair. There's no need to have his whole head in the sig.
I copy the selected part and make a new document, and paste (just like before)
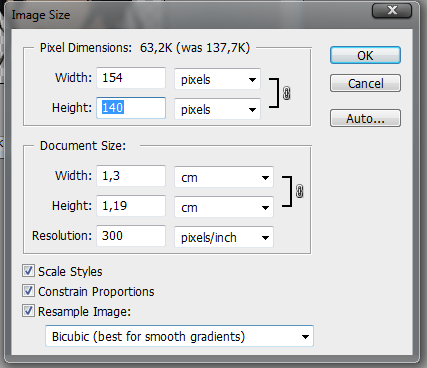
Now I go to the Image menu, and click on Image size, cause we have to resize the pic to fit in the sig, so I set the height to 140 px.
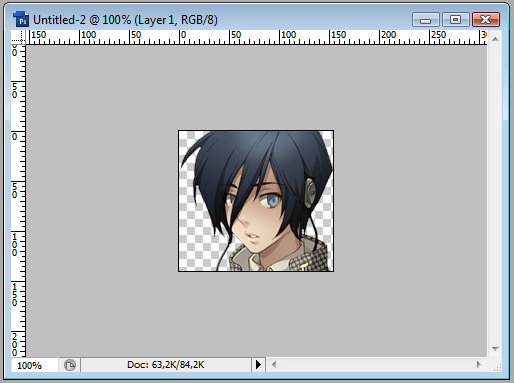
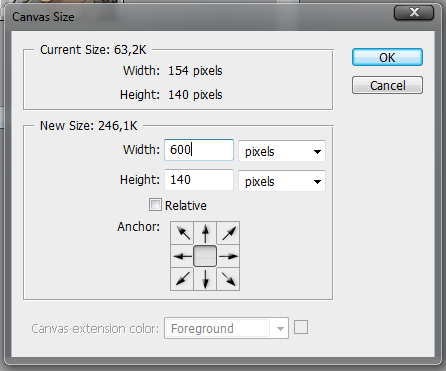
Now, since I'm too lazy to make a new document for the signature itself, I go to Image menu again, and click on Canvas size this time. Here we can resize or work area. Since the max size is 600*140, I set the width to 600 px.
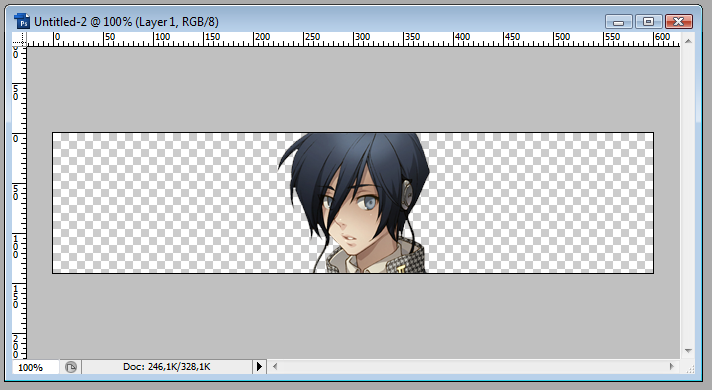
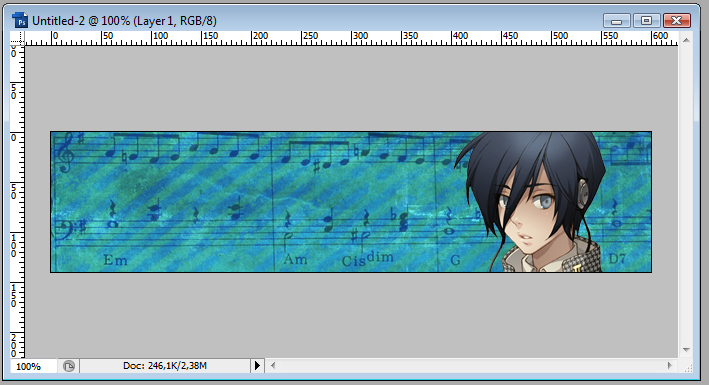
Now we have something like this:
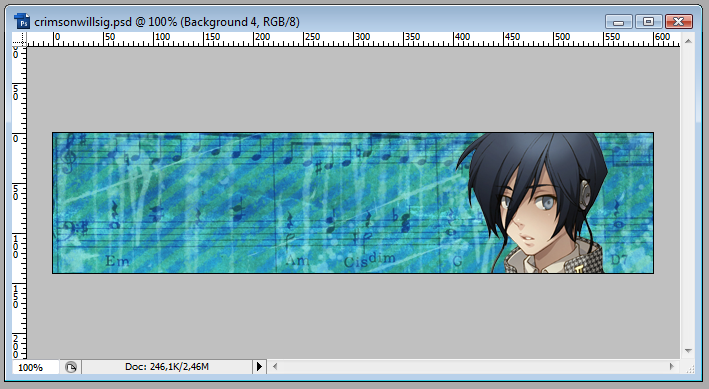
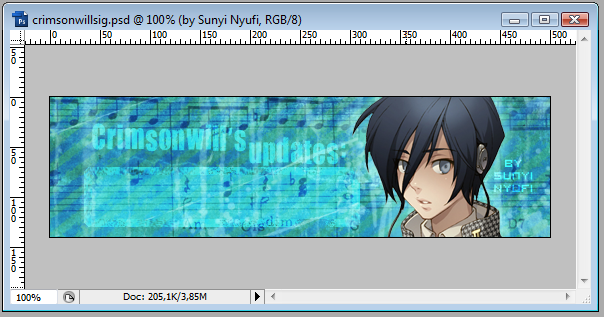
Since the guy is facing left I move him to the right side of the sig, and the updates will be on the left side. Then I make a new layer, and put it under the layer with the guy on it, this will be our first layer to make a background on.
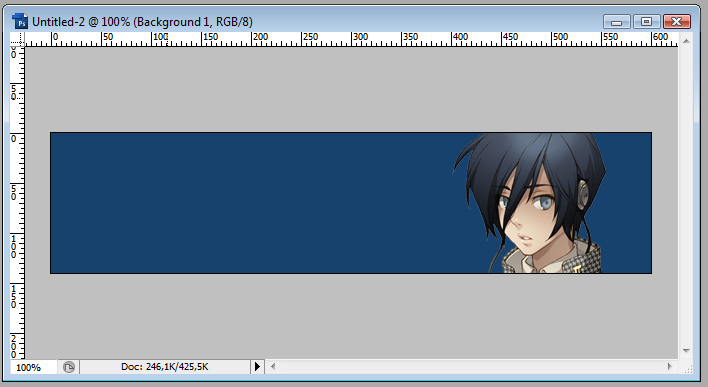
Now fill the Background 1 layer with the color of your choice (Select color, then go Edit>Fill and fill with foreground color). I want the sig to be blue, so I fill it with #16426d
But plain bakcground is boring, so we will use textures, but not the once included in Photoshop, cos they are lame. Everyone can find nice textures at Deviantart. Why to use textures? Because they are easier to use then brushes, and look cool. I most of the time use at least one or two texture layers for the background.
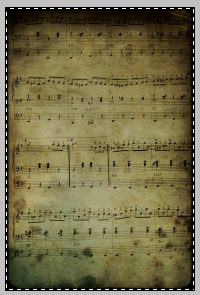
I decided to use a music sheet texture first (cos the guy is listening to music). So I open the music sheet pic in Photoshop, and resize it. I mostly resize texture to 600 px width, but this time I will use a width of 750 px, 'cos the sides of the sheet are compeletly black, and I don't neet that black. So after resizing it, I select the whole pic, and copy it.
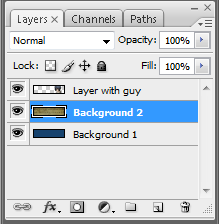
Then I go back to the sig and paste it beyond Background 1.
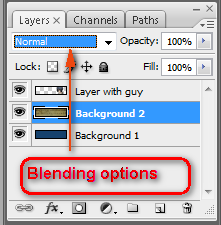
But as I said, I want the sig to be blue, so I play around with the blending option.
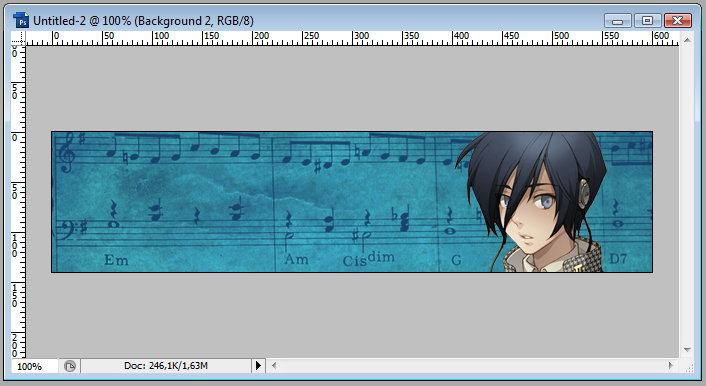
If you want to know more about the blending options click here. I most of the time try all of them out to see which one I like the best. This time I will use Color Dodge, which will make the sig look like this:
Nice huh? But we are not ready yet. I want to add another texture too, this (resized preview).
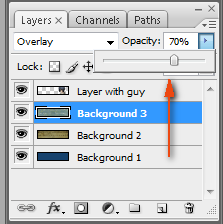
So I open it in Photoshop, and just like before, resize it, copy it, paste it (this time beyond Background 2), and change belending mode... This time I use Overlay:
I'm not ready with this layer (Background 3) yet. I want the music notes to be more visible, so I lower Background 3's opacity to 70%
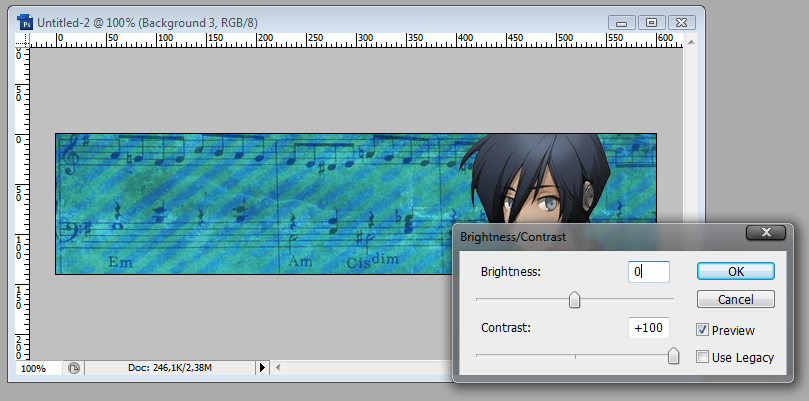
But now the pattern on Background 3 are a bit too light for my taste, so I go to Image>Adjustment>Brightness/Contrast, and ad more contrast to it.
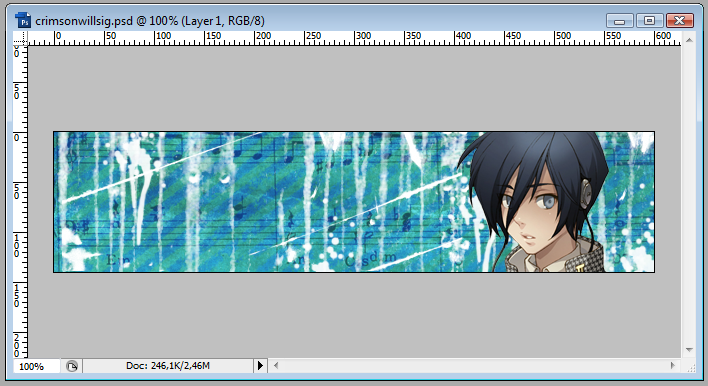
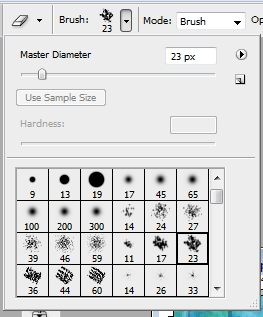
Now we have a pretty nice background, but I want it to be even nicer, so I will use a couple of brushes to put stains on the music sheet. For that I make a new layer, select white as foreground color, and click on the brush tool. Then I use several of my stain brushes (you can find brushes at deviantart). In the end it will look like this:
Of course I don't want it to be white, so I set the layer with the brushes to Soft Light.
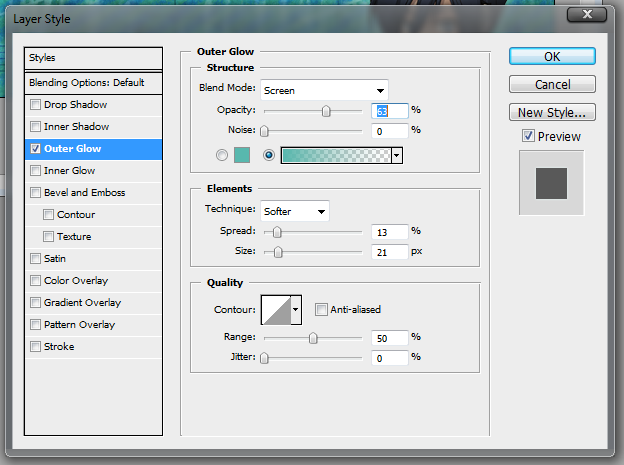
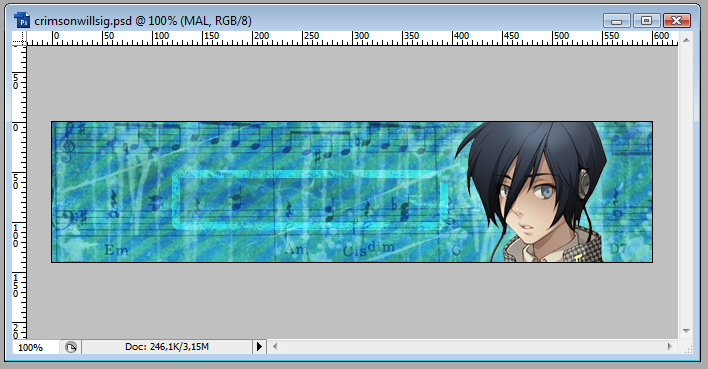
Now I go to the guys layer, right click and select Belending Options. I want to add a nice glow to him, so I go to Outer Glow. I set the color to one of the darker colors from the background, and make the size of the glow a bit bigger, and also make it spread a bit more, and lower the opacity of the glow, and make sure it's set to Screen.
Looks nice right? ^^
Step 4. - Adding MAL part
Now we will add the MAL part of the sig. For that we will need to decide how many upadtes we want to show. I mostly show 2 rows, 'cos I have a plain MAL-sig-with-2-rows pic on my hard drive (mostly 'cos always forget the its size). I open this pic in Photoshop
(How to get it? Open MAL in your browser, click edit on My Profile, go to My Signature, set the rows to your choice, the bakcground to white and font clor to something dark. Click update. Now you can see the updated sig, right click on it and save pic on your PC.)
Select the whole pic, and copy it on my sig, and place it, where I want to have the updates.
For the updates I decided to make a border around them, to separate it from the background. So first I select the MAL part with Ctrl+click-on-MAL-layer-little-pic. After that I make a new layer over it. Easiest way to make a border:
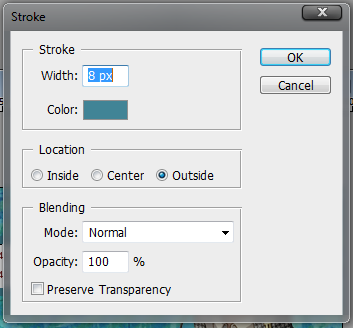
First choose the color for the border. (Chose a darker color from the background.)
Then go to Edit>Stroke - Here you can set the width of the border and the location. I advise everyone to place it outside, this way the border won't overlap with the updates. Since I want to make the border stained too, I set it to be 8 px, but normally it is too much, and I mostly use only 2-3 pixels.
Now I change the blending option of the border's layer to Color Dodge. But it's too bright, so I lower the opacity again (67%)
After this I zoom in, and with several erasers I delete tiny bits of the border.
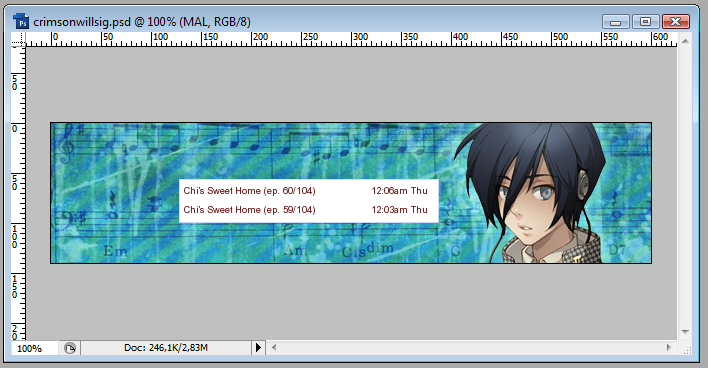
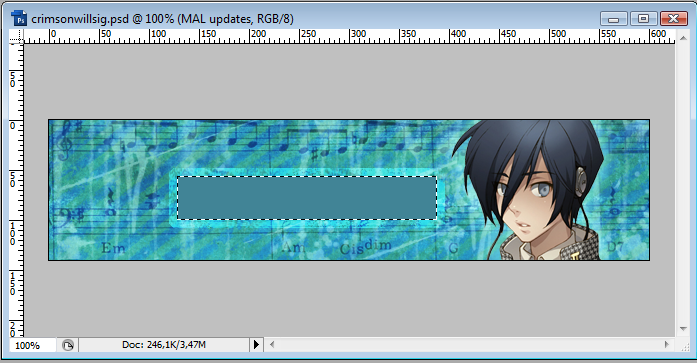
The border is ready, but with the music notes and all in the background the updates would be really hard to read. So once again I select the MAL part just as before, make a new layer, and fill the selection (Edit>Fill) with the same color that I used for the border.
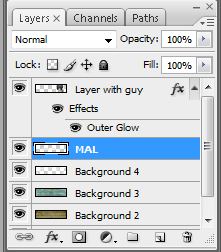
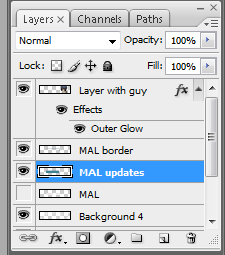
Make sure, that the layer order is like this:
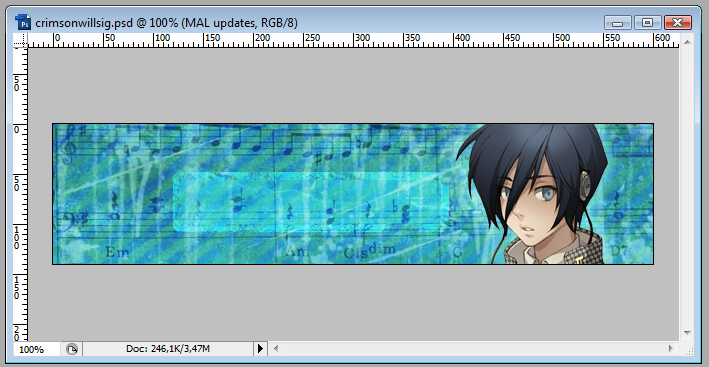
Now I change the blending of the MAL updates layer to Color Dodge, and lower the opacity. It should be lower than the borders. In my case it's 45%
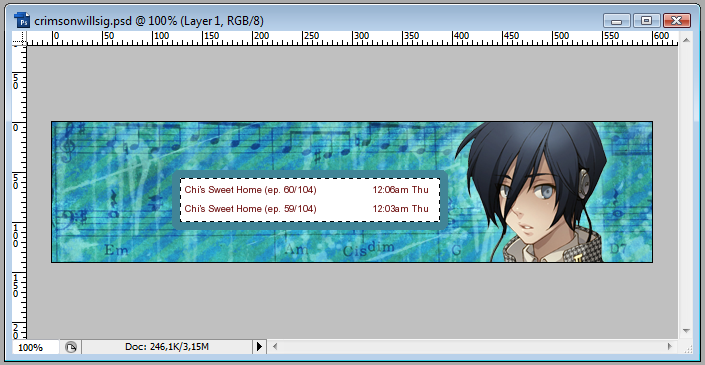
And with that, we have our MAL part in it :)
Step 5. - Adding text
Next we add the update text for the sig. You can add text to your sig with the text tool.
First is to choose a font.
You can find nice fonts at Dafont. I use "You are Loved", 'cos it's one of my favorites :P
You have to play around a bit with the size of the text, but I guess anyone can do it alone, so I will move on ;) Since I want the text to be on top, I move the layers for the updates (MAL layer, MAL updates layer) a bit down (to select both click on them while holding Ctrl key). I want the text to be in two rows, so I made a new text layer out of "upadtes:" and move it around.
Now I will change the text color. Use the text tool again, and click on the color
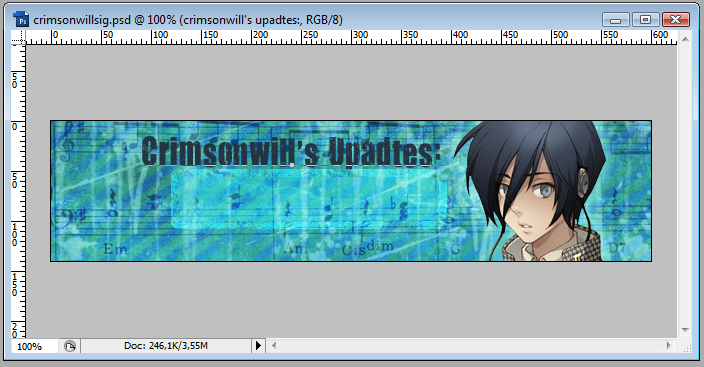
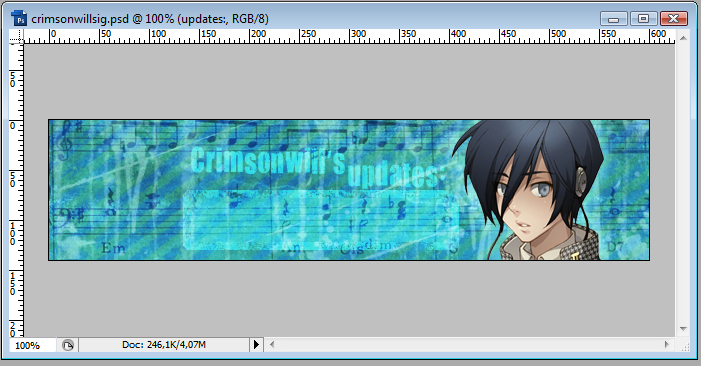
and set it to the color of your choice. I will use the color that I originally used for the MAL updates part. After that I set the text layers to Color Dodge and lower opacity to 70% (note: I moved the "Crimsonwill's" text a bit lower, so it'll be more readable)
(and I add my name on it too, 'cos I'm an egoist muwhaha >:P)
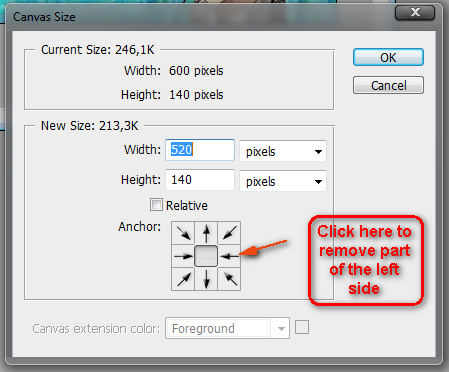
Since the sig is unnecessarly big, I go to Edit>Canvas size, and set the width to 520 px.
And since I found 520 px still a bit to big, I cut out other 20 px :D
Step 6. - Adding a border
Most of the sigs newbies make are missing this. Border is not a must, but most signatures look better with it. Making a border is basically the same as it was for the MAL updates border, only that here we will select the whole canvas, and make a stroke on a new layer with the location "Inside". (Make sure, the new layer is above every other layer)
Now I basically make the same thing I made with MAL border.
With this I basically have the sig ready, I just have to slice it up.
Step 7. - Slicing
I won't detail this steps, 'cos aero made a really nice tutorial for it already. Take a look at it here.
So with this, we have our sig ready. Hope it was understandable, and it helped at least someone a bit :)
@ ChiBuki
Yeah, I noticed it too. And an other problem with the most sigs newbies make is IMHO that the updates are not readable, so I thought I have to detail it a bit :)
@ windy
Funny thing is, while I was looking for a picture I had to realize that there are rarely guy+headphones pics. It always half naked girls XD
[qoute=windy]i usually make mine with borders around the individual update so that was helpful to see.
I do that too sometimes, but I'm actually too lazy to do it most of the time >_> And since I only use two rows makes not much difference I think...
@ the_seventh_l
You're welcome, hope to your made-in-PS sig :)
@ Factor
Seems like it did help at least a bit :)
btw... I love your ava <3
I might try this out when I get the chance. Seeing as it covers the basics, it leave people with room to experiment for themselves.
Your search on "Oran Solus" returned the following quotes:
"Oran Solus? I know him. What a wanker. He still owes me a tenner." Oscar Wilde
"Oran, you're so intelligent and awesome <3" Bakayaro
"Oran's sexy." LolitaDecay
"Oran is a sophisticated penguin." Drybananna
"Oran is a Hand-Eye you faggots." EddieSpaghetti
"Oran for Prime Minister." the_prime_one
"Oran is all that is stated in his sig and more." orbitzz
damn...my sig wont update when i finish an episode and do the thing to my "animelist"...
and also photoshop elements doesn't seem to have slice tool... =_= i need help T^T
hello everyone i'm new here makeing sig is not what i'm good at i'm using ACDsee 2008 i just like to ask which software were u used in this sig making process
Ah, it took me quite sometime to figure out, I thought it was bloody complicated but it's just like putting a puzzle together!
The slicing tutorial seemed slightly complicated but it's great and yours is great too!
Thanks alot!
Thanks so much for the tutorial! I'm using it now. :D
But I have a question... I'm using Photoshop CS3, and for some reason I can't use brushes at all. I can see the brushes themselves, but they're greyed and I can't click on them. (The layers are unlocked and everything.) I don't know what I'm doing wrong! T__T
Does it make a difference if I add that I'm using CS3 Extended?
this topic suck! Not every single individual have " PHOTOSHOP" !!! I'm among on the list of those people who dose'nt. Is there a good substitute out there. which would let me make my own sig on my own? this topic don't help me...and i don't care if this threat is old or not..i write where i write//thhn you dears=)


 Music is about enjoying sound~


