Trolltorial #1:
(If you're easily offended, this tut isn't for you. Fair warning. I like to ... spice my stuff up, or so you might be able to say)
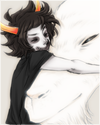
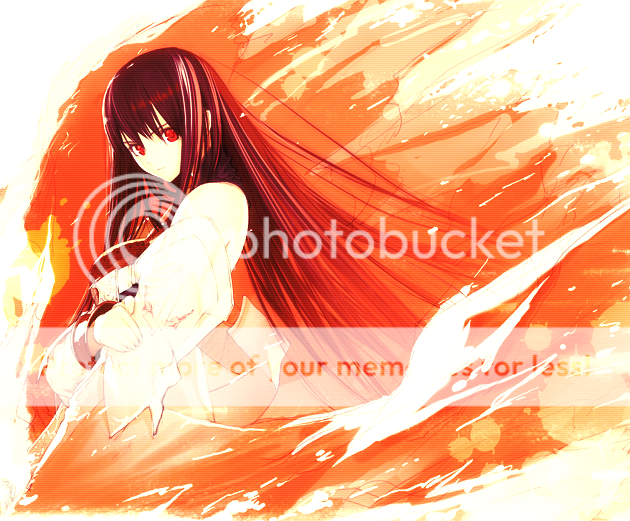
How to turn  into into 
So, I'mma skip the whole cropping part of this image, cause if you don't know how to crop an image, you probably should be learning photoshop 101 rather than how to make pretty icons. Prioritize that before the shiny jpegs that everyone loves.
Okay, so I'm sure by now, if you're reading this tutorial, you're sick of having shitty cropped icons with no effect, right? Cause those are boring, who would like them anyways (no offense to those of you who crop images and rescale and call your shit icons without even using an effect :V). Anyways onto step one:
First, duplicate your main image layer and set the top image layer to soft light.
Should look like this:

I guess that's kinda cool, kinda dramatic on the lighting... But it's boring as shit. Let's mix our shit up by making it a bit glowy. Go up to filter and select gaussian blur. Crank the blur up to about 4.5ish-7.0ish and hit okay.
Now we look kinda glowy like this:

Glowy is cool but it lacks interestingness... and most of all, depth
So lets go to selective color (the halfblack/halfwhite circle at the bottom of the layers palette, click it to bring up these options)
Apply these settings on the Relative Method:
REDS:
C -13
M +10
Y +5
K -21
NEUTRALS:
C -19
M +38
Y +16
K 0
You get this:

So yeah, we're lookin pretty glowy about now, but HOLY MOTHERFUCKING SHIT FUCKING FAGBALLS GAY WTF WE ARE NOT FUCKING GLOWY ENOUGH.
So let us be even MORE glowy
Add a brightness/contrast layer, found in the same damn circle thing
Your settings should be:
B +9
C +12
And now you are looking pretty rad and glowy, like so:

BUT NOT ENOUGH, WE NEED COLOR BALANCE.
DO ANOTHER LAYER, LIKE SO:
Preserve luminosity (check this if you didn't)
Ignore shadows and midtones, we're only doing highlights:
C/R 0
M/G +7
Y/B -24
Now we look rad

However we need a motherfucking texture in this shit.
Here ya go

Texture is by Bombay101 over at Deviantart.
Copy the texture onto your clipboard and paste it into your icon and set the layer blending mode to screen.
Looking epic amirite?

Oh wait there is this ugly motherfucking line on Shou's face. Not epic.
Go over to your eraser tool. Adjust the thing to about 18 px or so in size and set it at a hardness of 0. Then lower the opacity of the eraser to about 35. Now, QUICKLY ERASE THE LINE BEFORE SHE DIES. Also, if needed, erase a small bit of te texture around her face. So you can actually see it.
We're done now, you should end up with this:
|


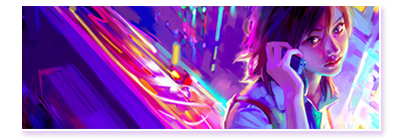


 and after